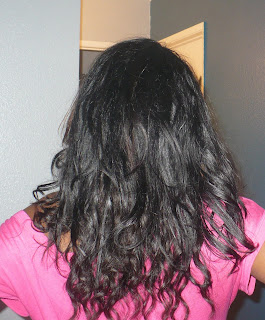
My Homemade Clip-In Hair Extensions: The Results

I mentioned that I would share the final look of my homemade clip-in hair extensions in My Latest Beauty Haul & Homemade Clip-in Hair Extensions post, so here is how the process went...
1. After straightening and curling my hair with a flat iron, I created a part where I was going to apply the first track:

2. Here is what it looks like with the first track in:

3. I then made a second part, just an inch or so above the first to indicate where the next track would go:

4. And here is what it looks like with the second track in:

5. The final look:


I definitely think I'll go for extensions in 1b next time, but overall, I'm pleased with the results! BTW, for those of you who requested a video for this, I will be recording one soon, as I wish to share what I learned so you don't have to make the same mistakes I did. Until then, smooches!

4 comments:
I'm curious as to why you were making your own clip-in extensions. Is it less expensive that way, or were you doing it just to see if you could?
looking good girl....The extensions look fab
Wow! You did an excellent job!
I bet the color difference is only really obvious because of the pictures. And of course, because you know its different. I think they look great. Good job Diva!
Post a Comment